
Upcycled Skirt - My Second look for the Make it With Wool Contest
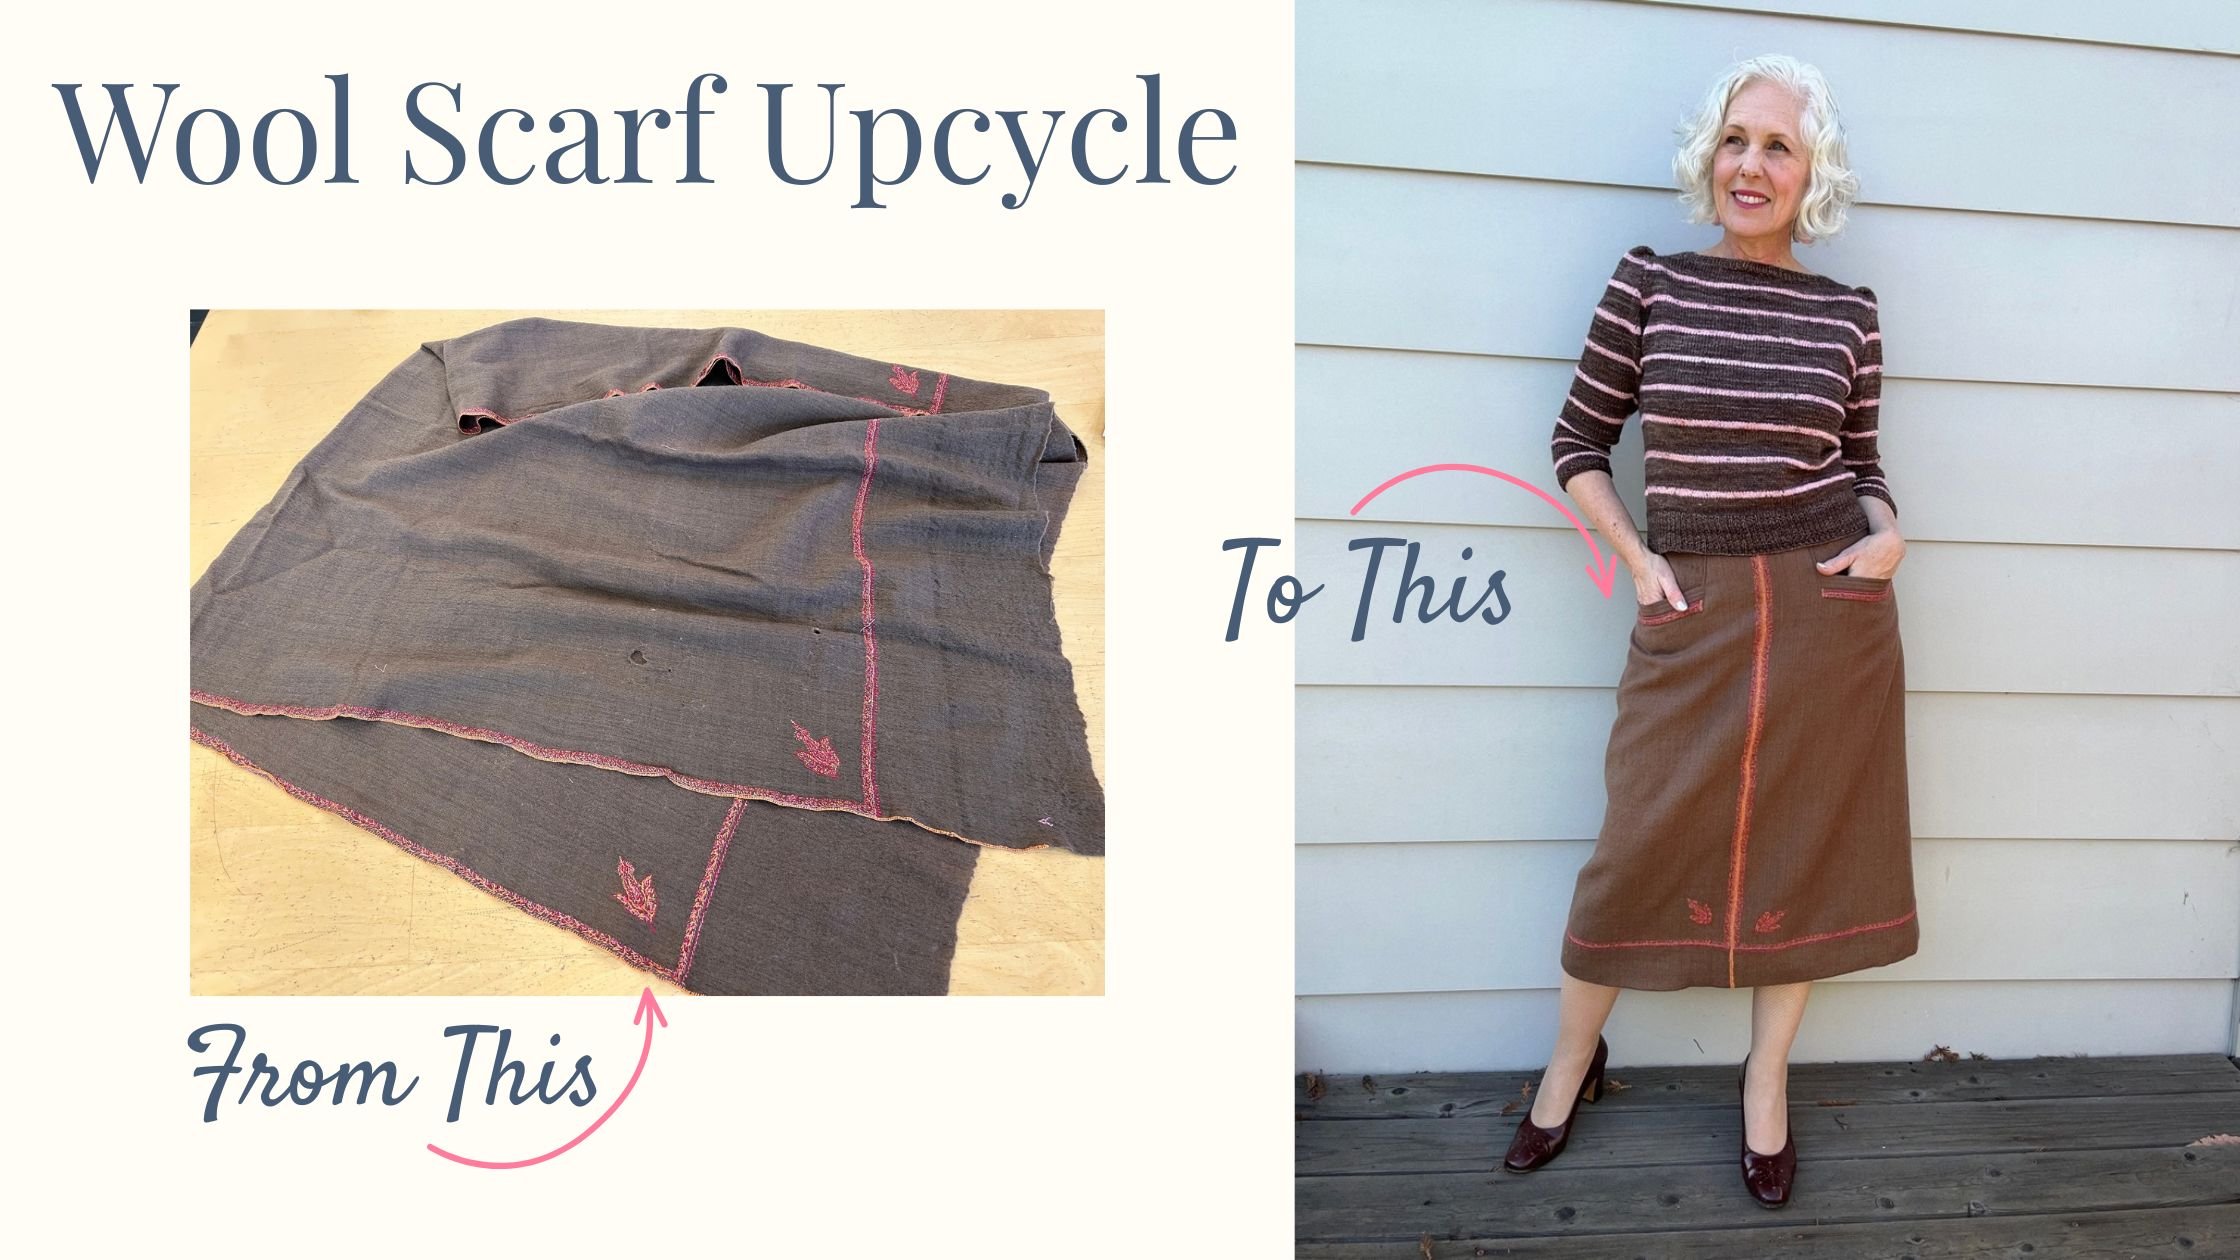
After this beautiful but moth-eaten showed up in a fabric donation, I knew it had to become something I could wear with the cute striped sweater I was making. Both being made from wool, I considered entering them in this year’s California Make it With Wool Contest. I had already started another outfit but thought - “Why not enter two outfits?” So you could say this was a back-up extra entry. I wasn’t sure I would get it done in time, but in the end, both outfits were finished on time and will presented to the judges at Lamb Town tomorrow (Saturday October 3) at noon (hint hint).
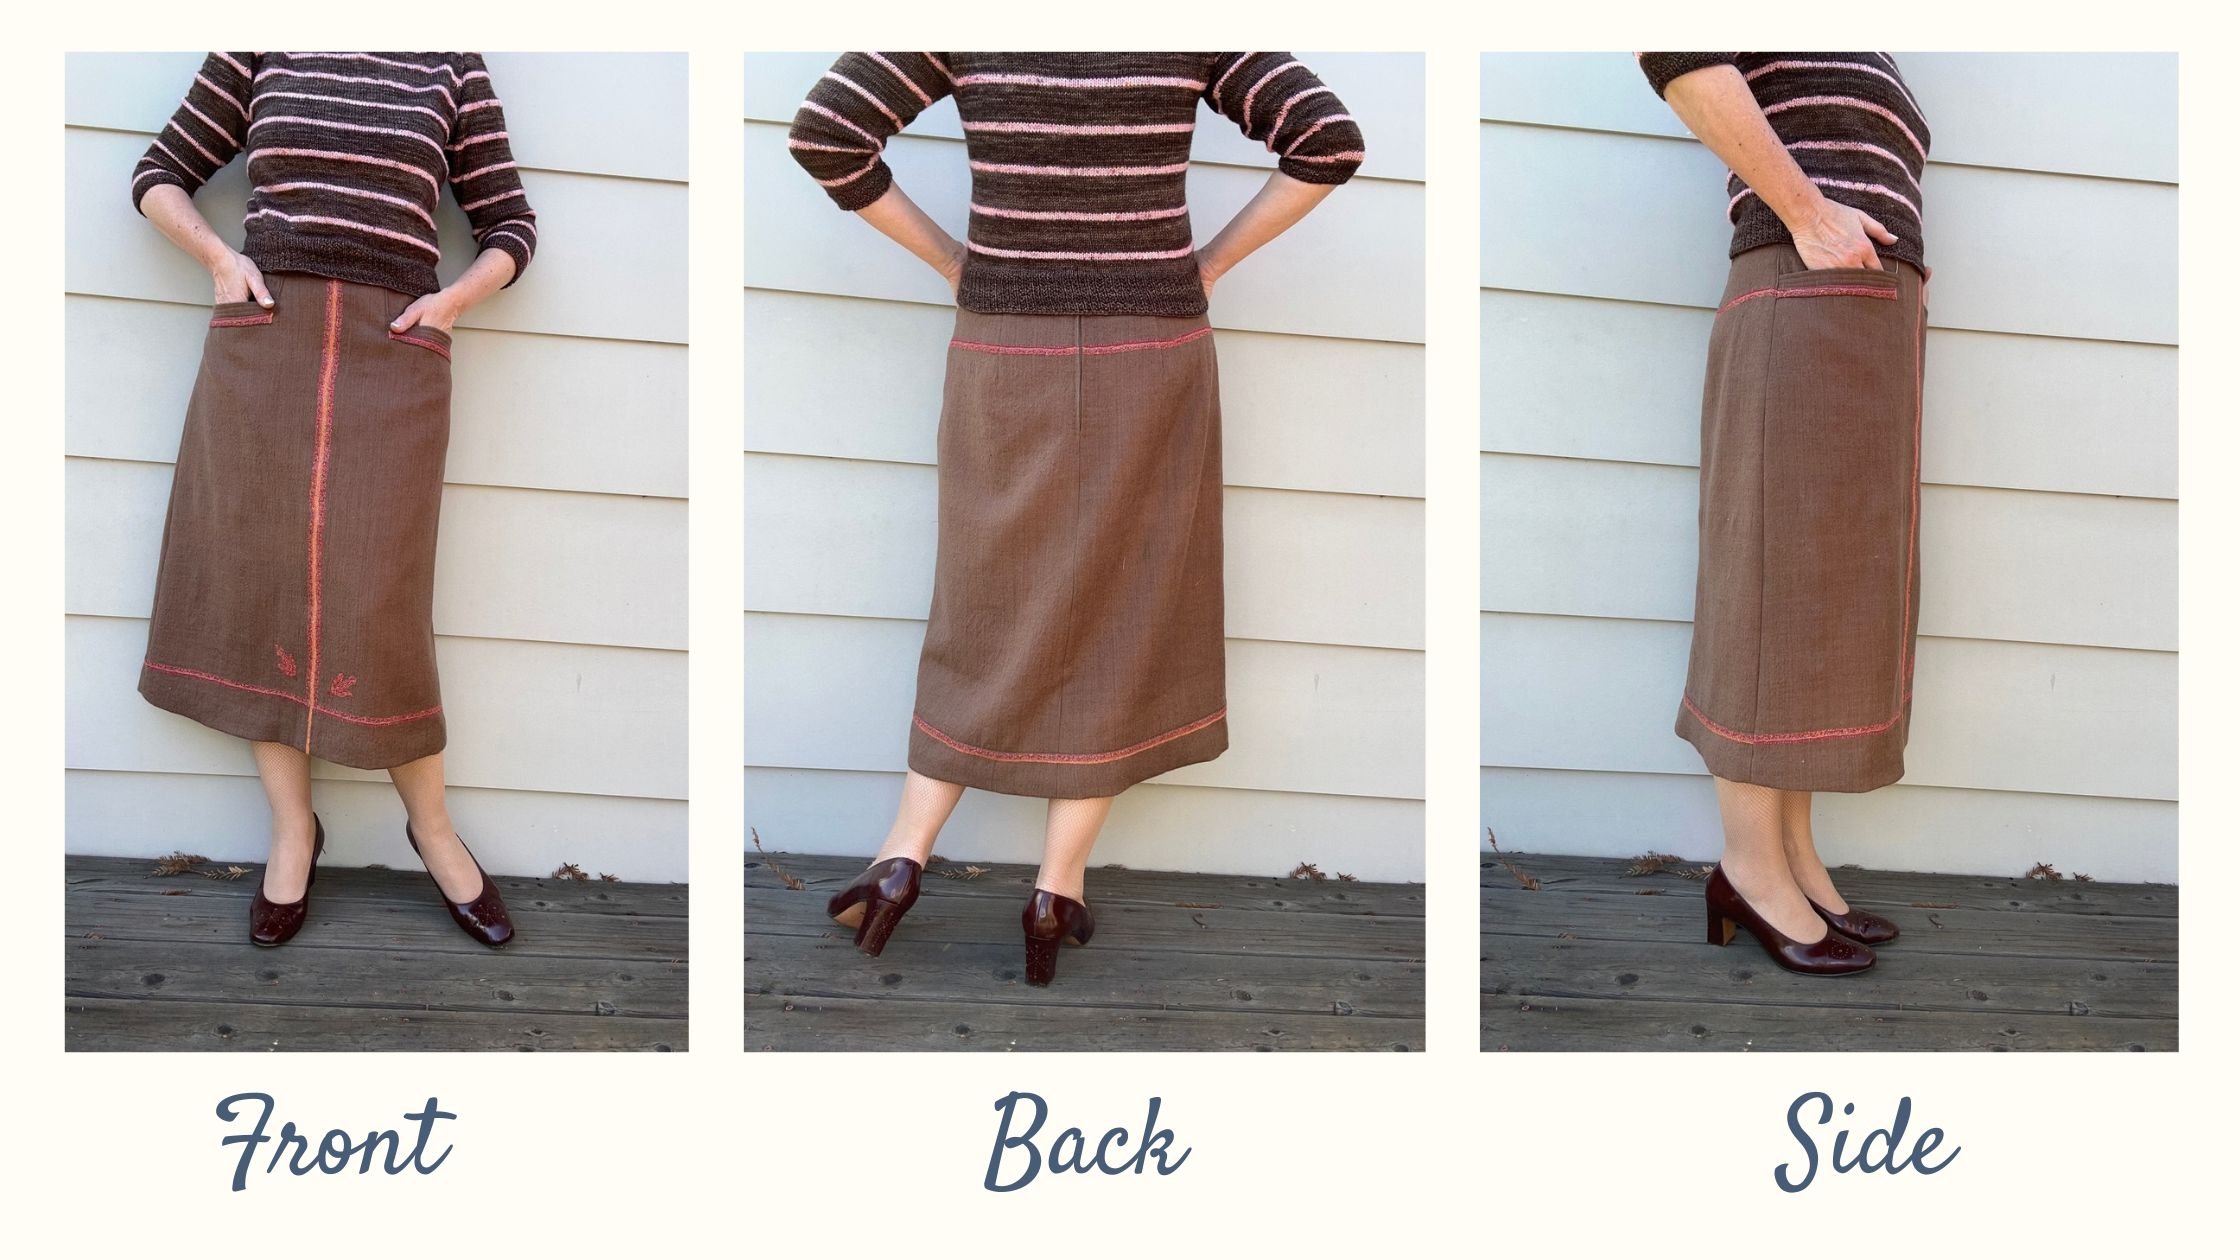
I love upcycling when I find materials that just sing to me. Brown and pink are one of my favorite color combos and on my color palette as well. The embroidery on the scarf was a sweet detail and I wondered how I would incorporate it into the design. It took a bit of strategy and fabric layout was crucial. I had to shorten the skirt length to make sure all the pieces fit on the large scarf. I also had to avoid moth holes and in that regard, got VERY lucky.
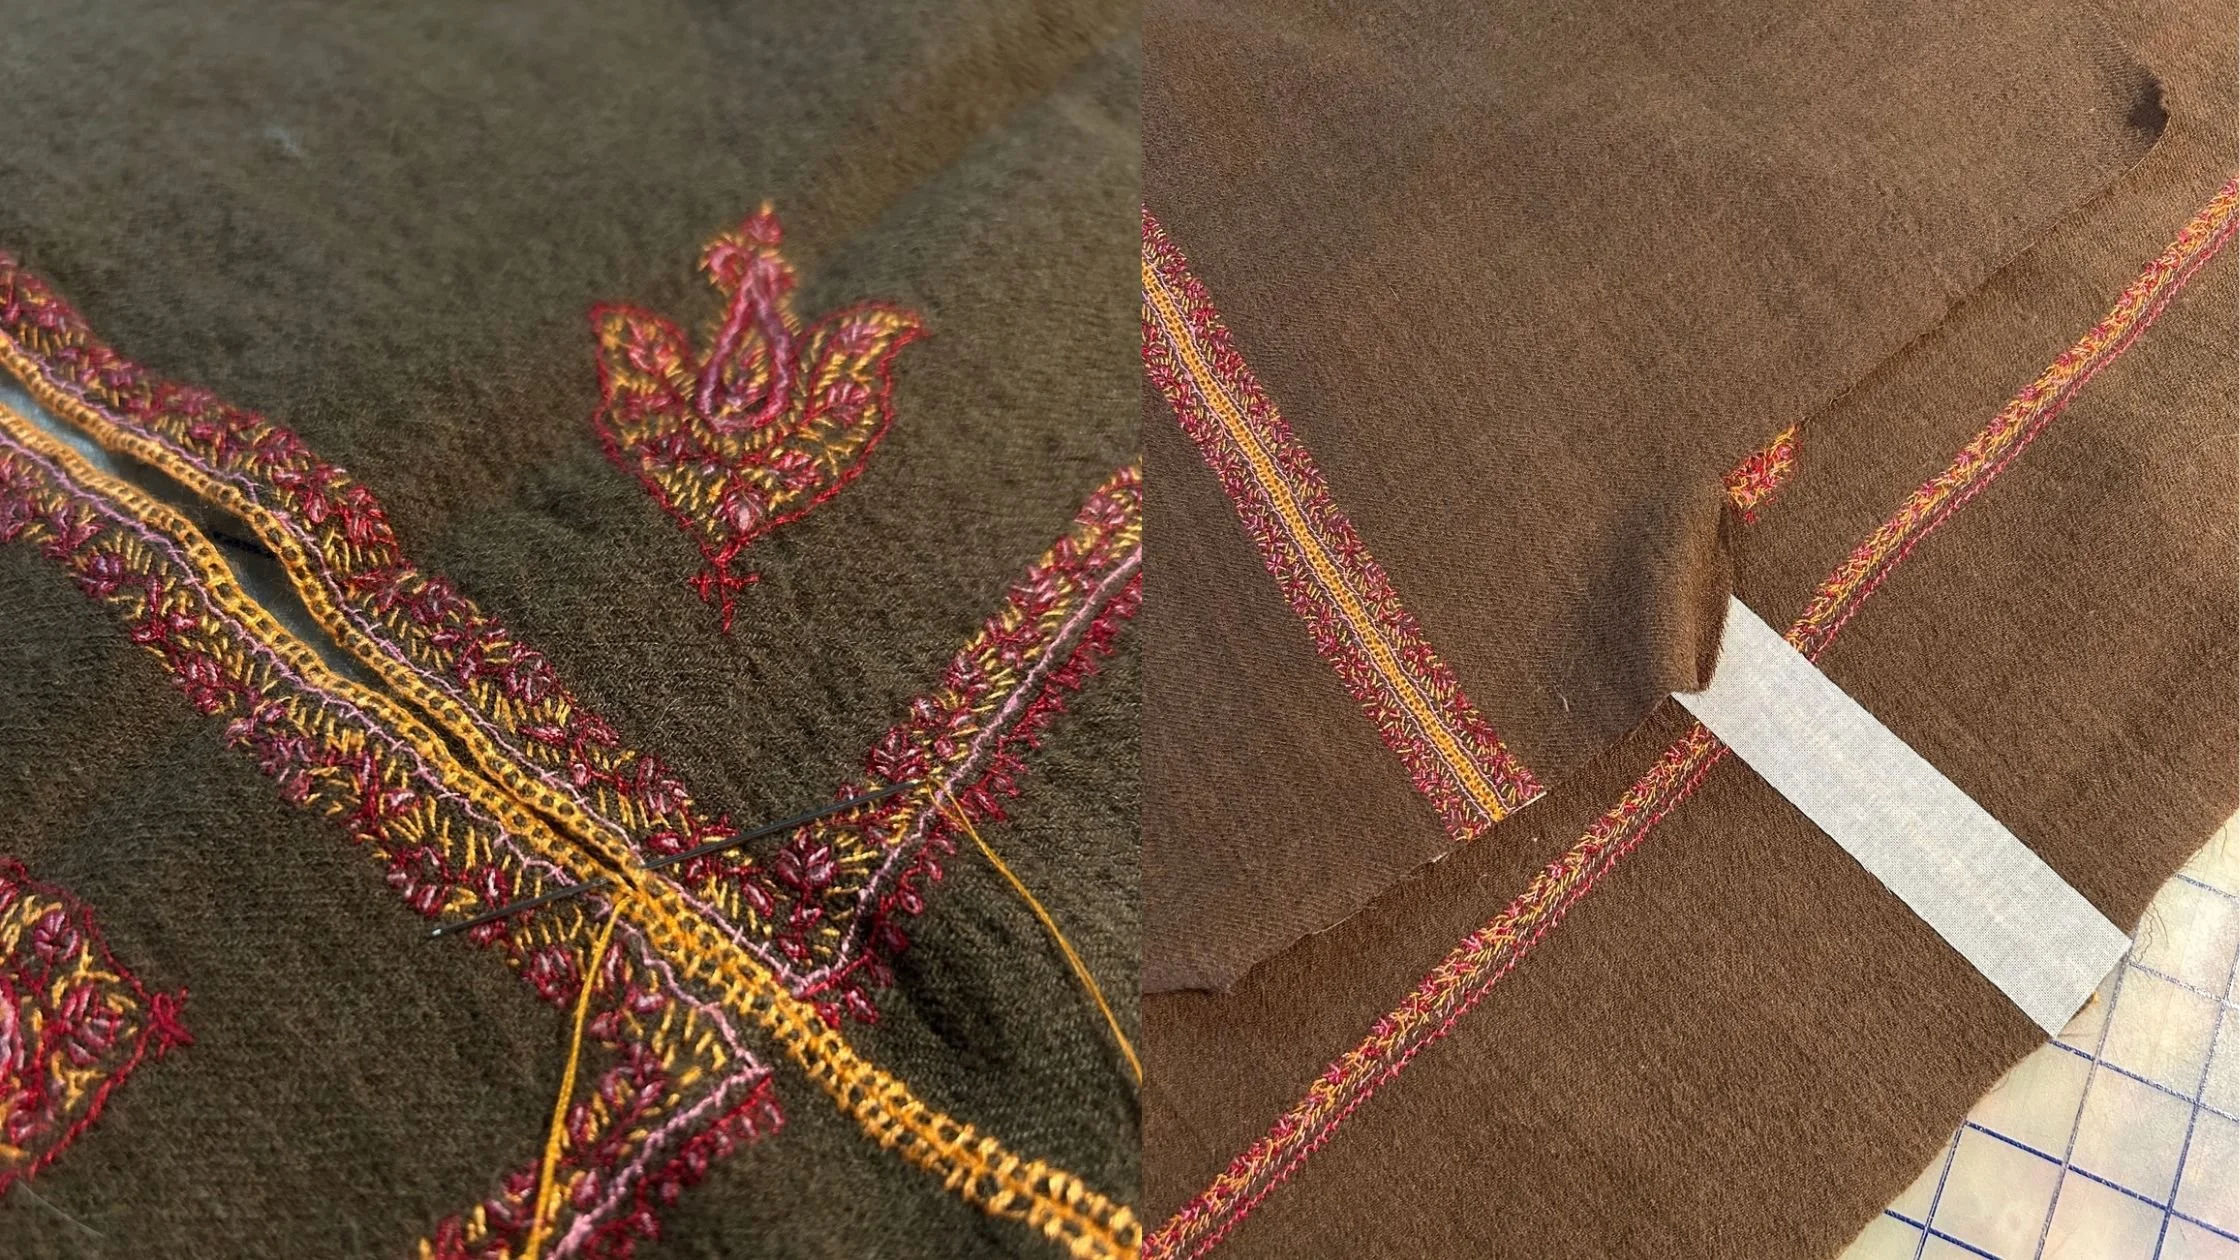
Careful Placement
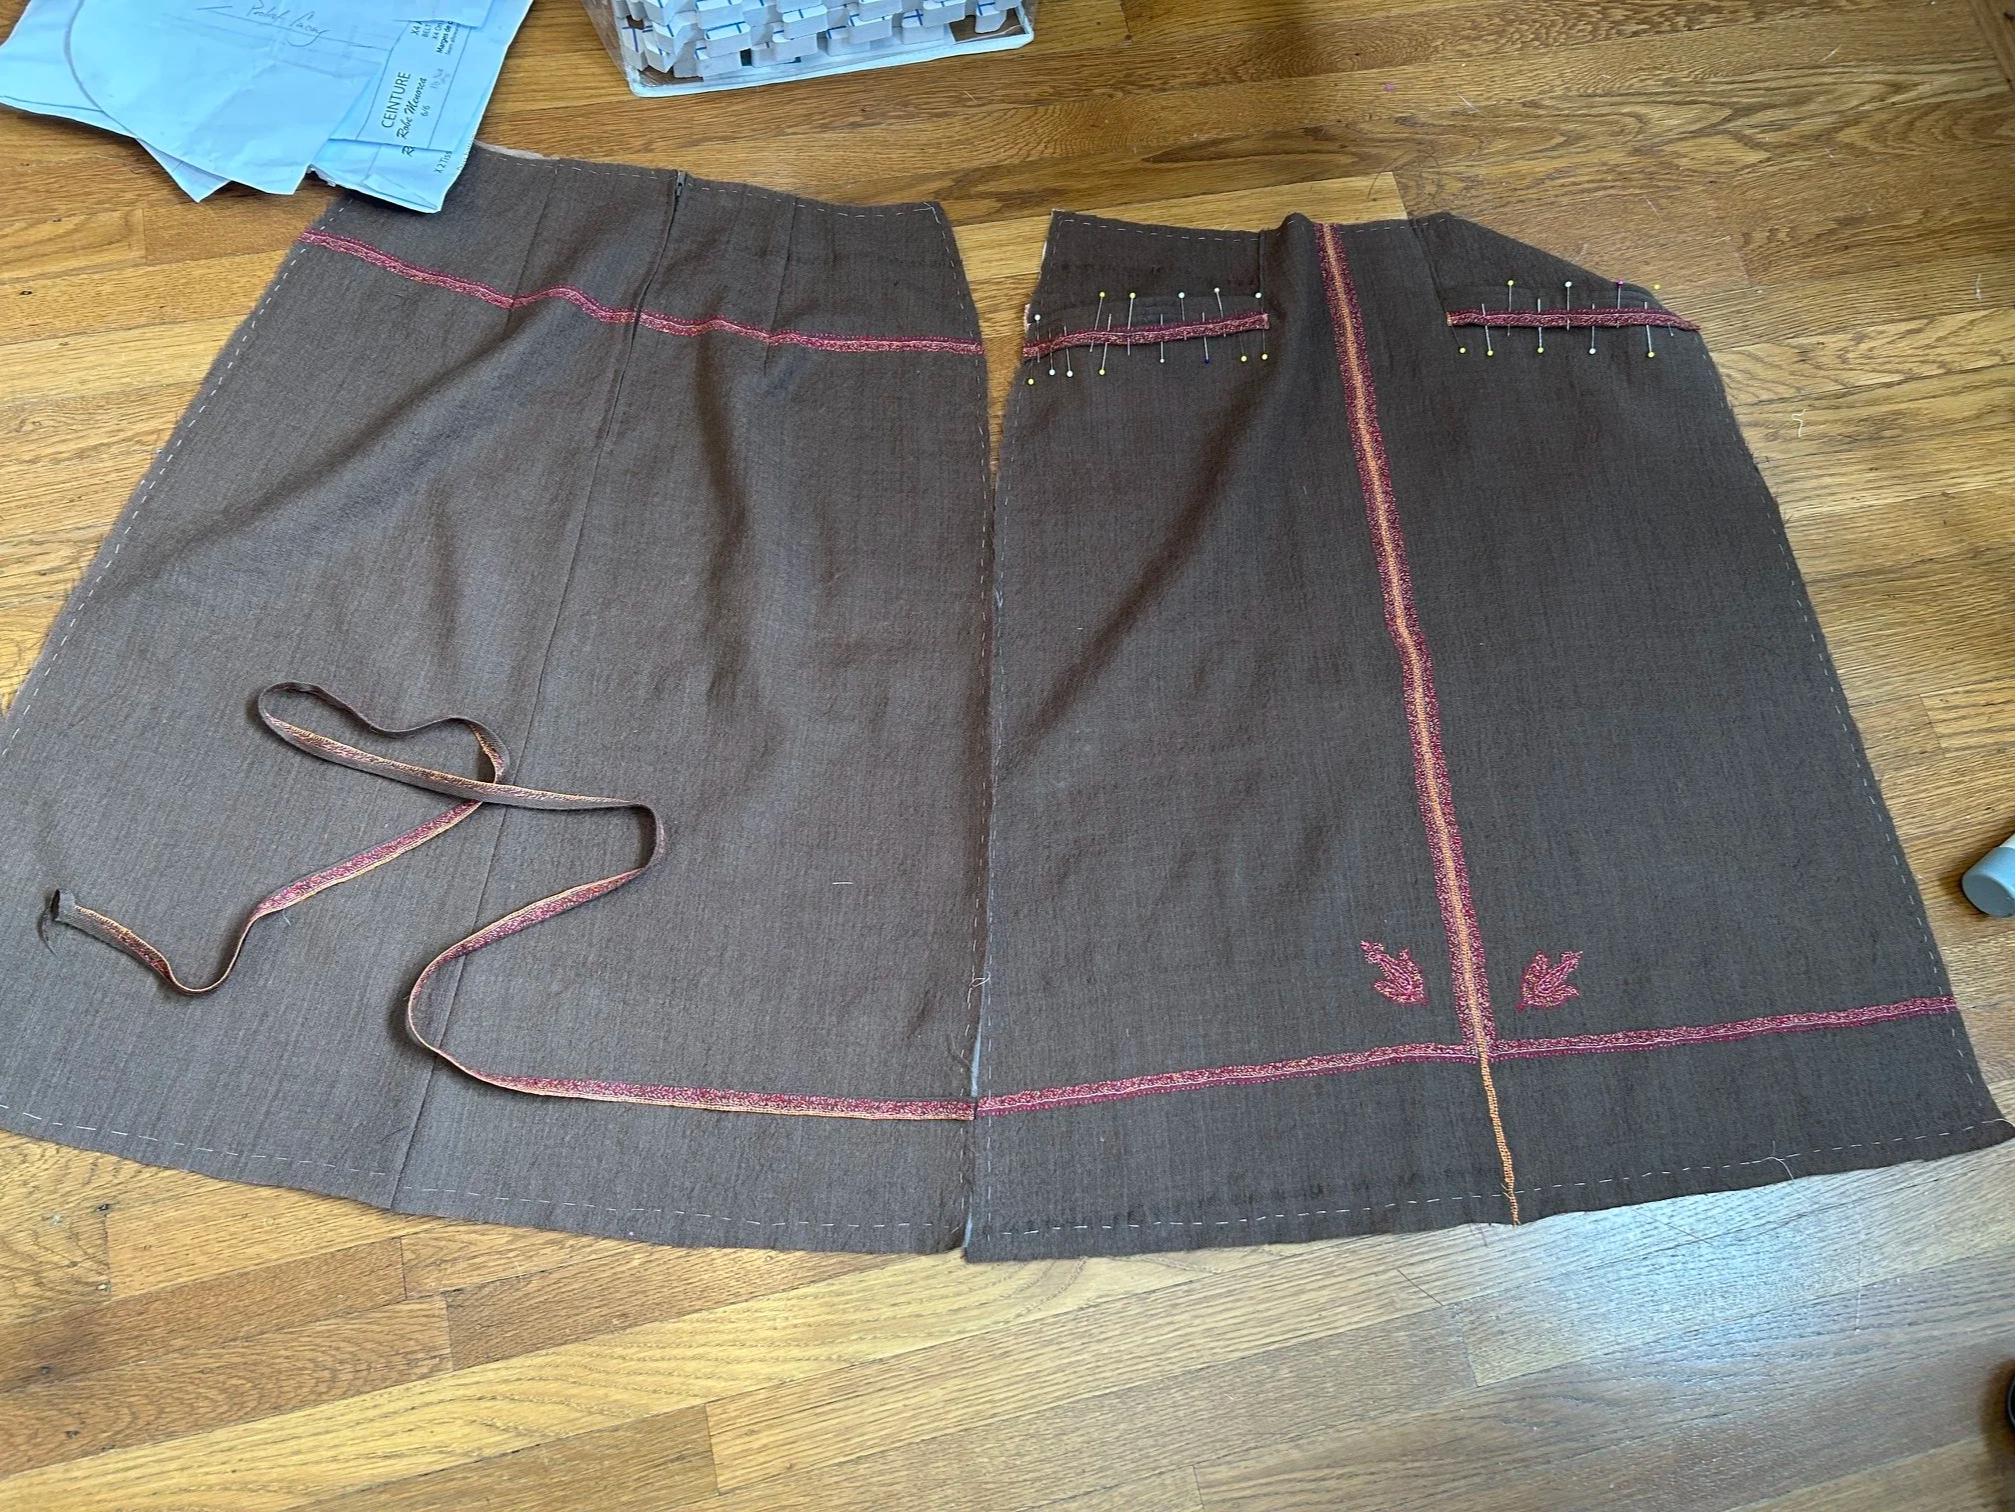
Instead of putting the front on the fold like I did with the same pattern for my plaid skirt, I laid the folded edge on the edge of the embroidery, so that the embroidered edges could be butted up together. That did mean that they had to be hand sewn together. Afterwards, I fuse-interfaced the seam to reinforce it.
The next step was to underline the main pieces with silk organza. While this was a soft clean wool, I wanted to make sure it held up with wear. The organza stabilizes the wool and makes it hang beautifully when sewn together. This technique is also called flat-lining.
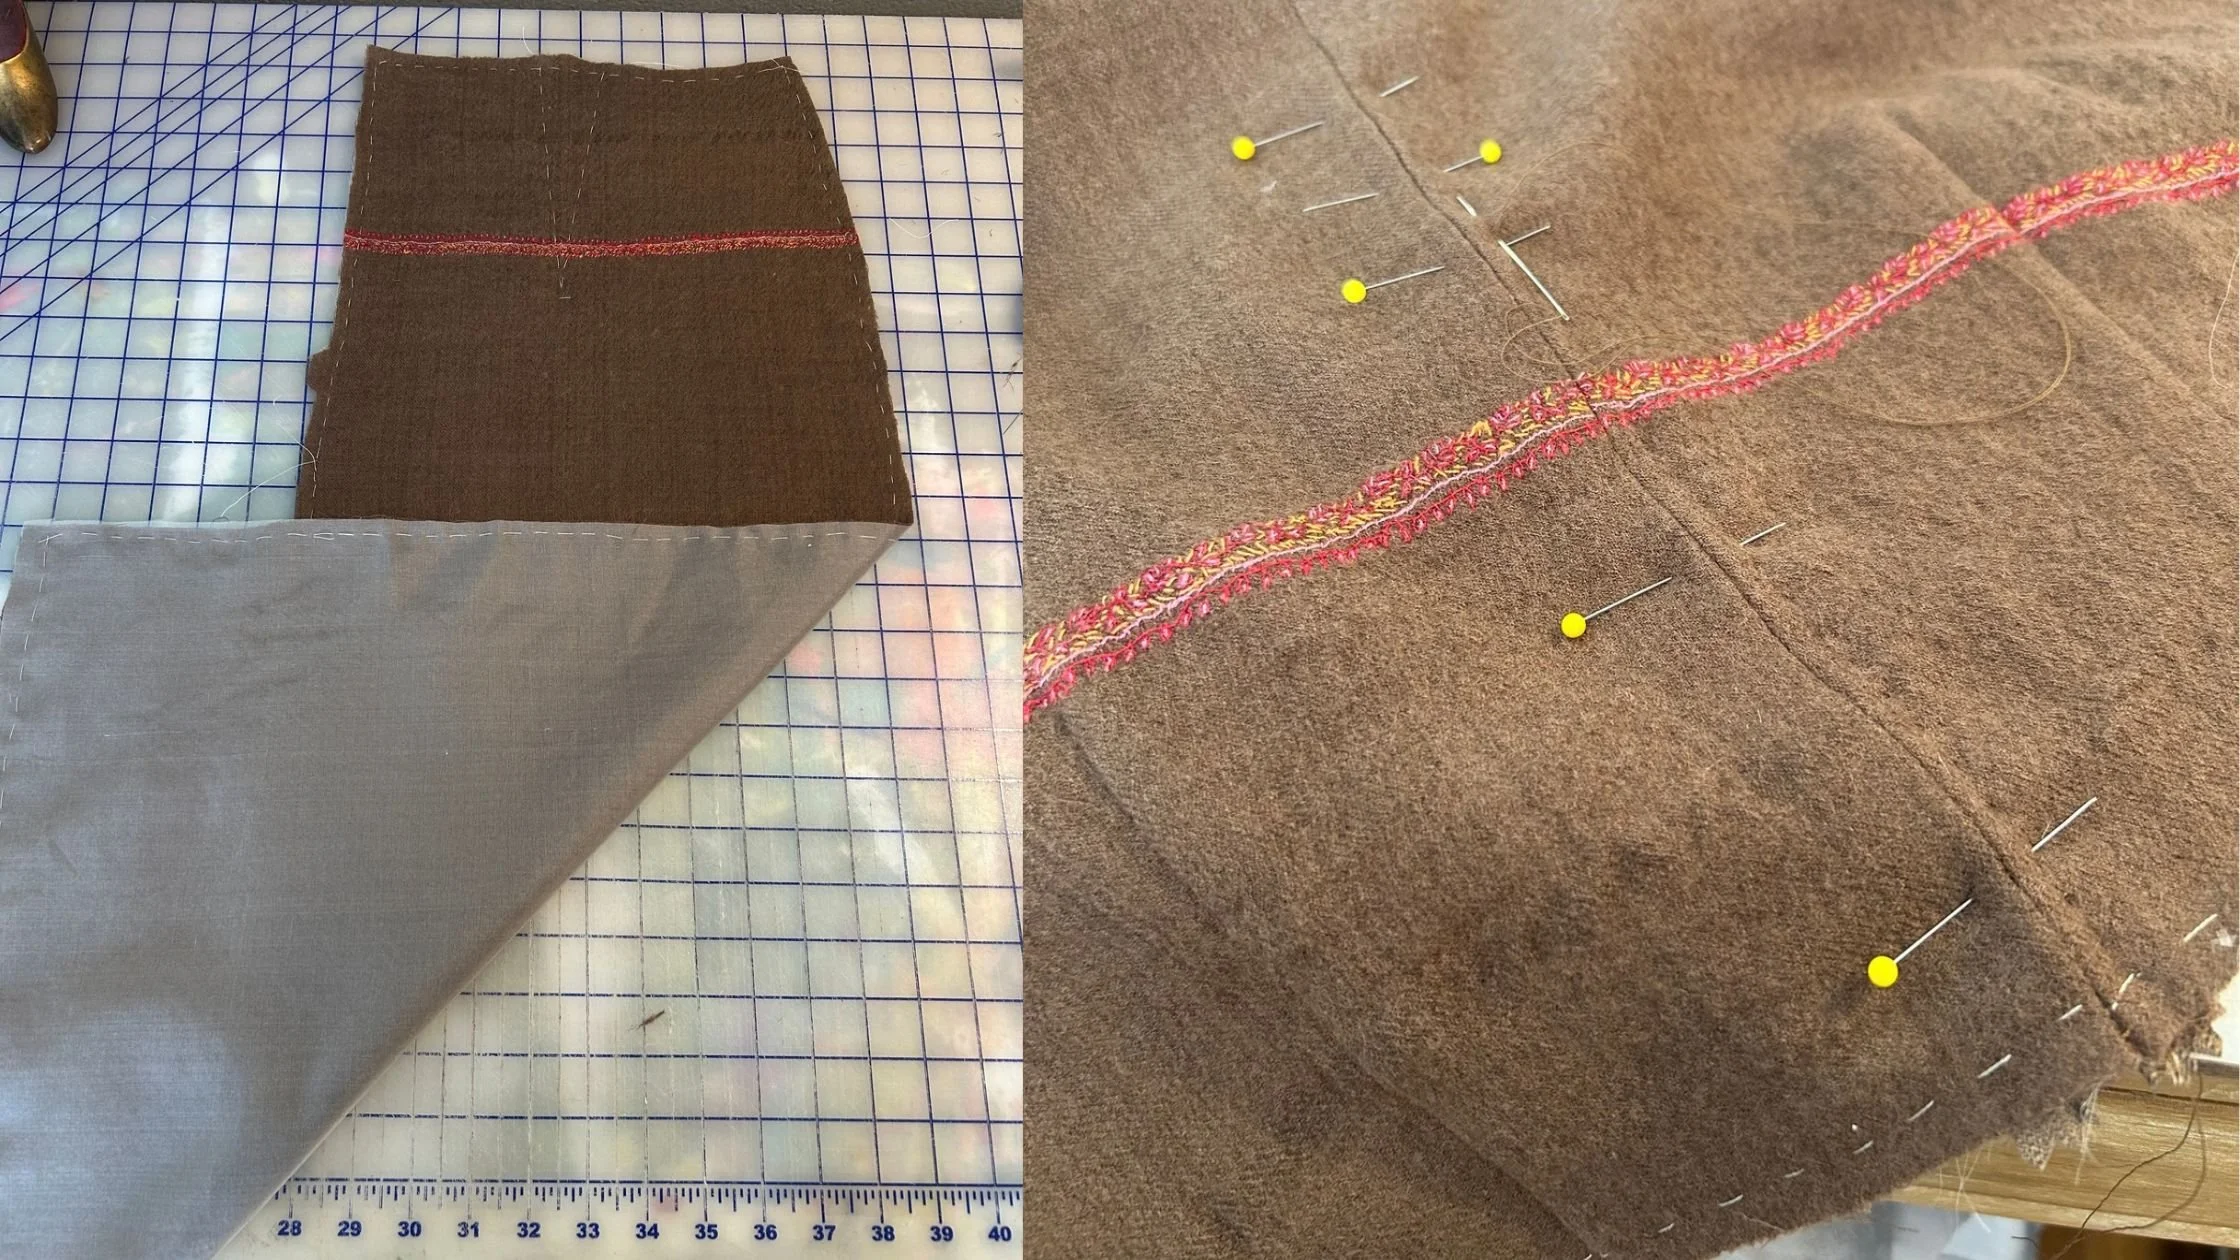
Couture Techniques
Interlining the main pieces with silk organza is only one of the couture techniques I use regularly. My other favorite is finishing the opening with a hand-picked zipper. The stitches tend to blend in with the fabric and make it almost invisible, compared to machine sewing. Here is a quick step-by-step how to:
Hand Picked Zipper How-to:
Baste the opening closed along the sew line
With zipper face down and with the teeth centered on seam, stitch one side of the zip tape to the seam allowance.
From the outside, pin the zipper in place to keep the teeth centered.
Using a “prick” stitch (a backstitch with only a tiny prick of thread showing), stitch the zipper in place on both sides and around the bottom of the zipper about 1/4 or 5/16” away from the sam and about 1/4-5/16” apart.
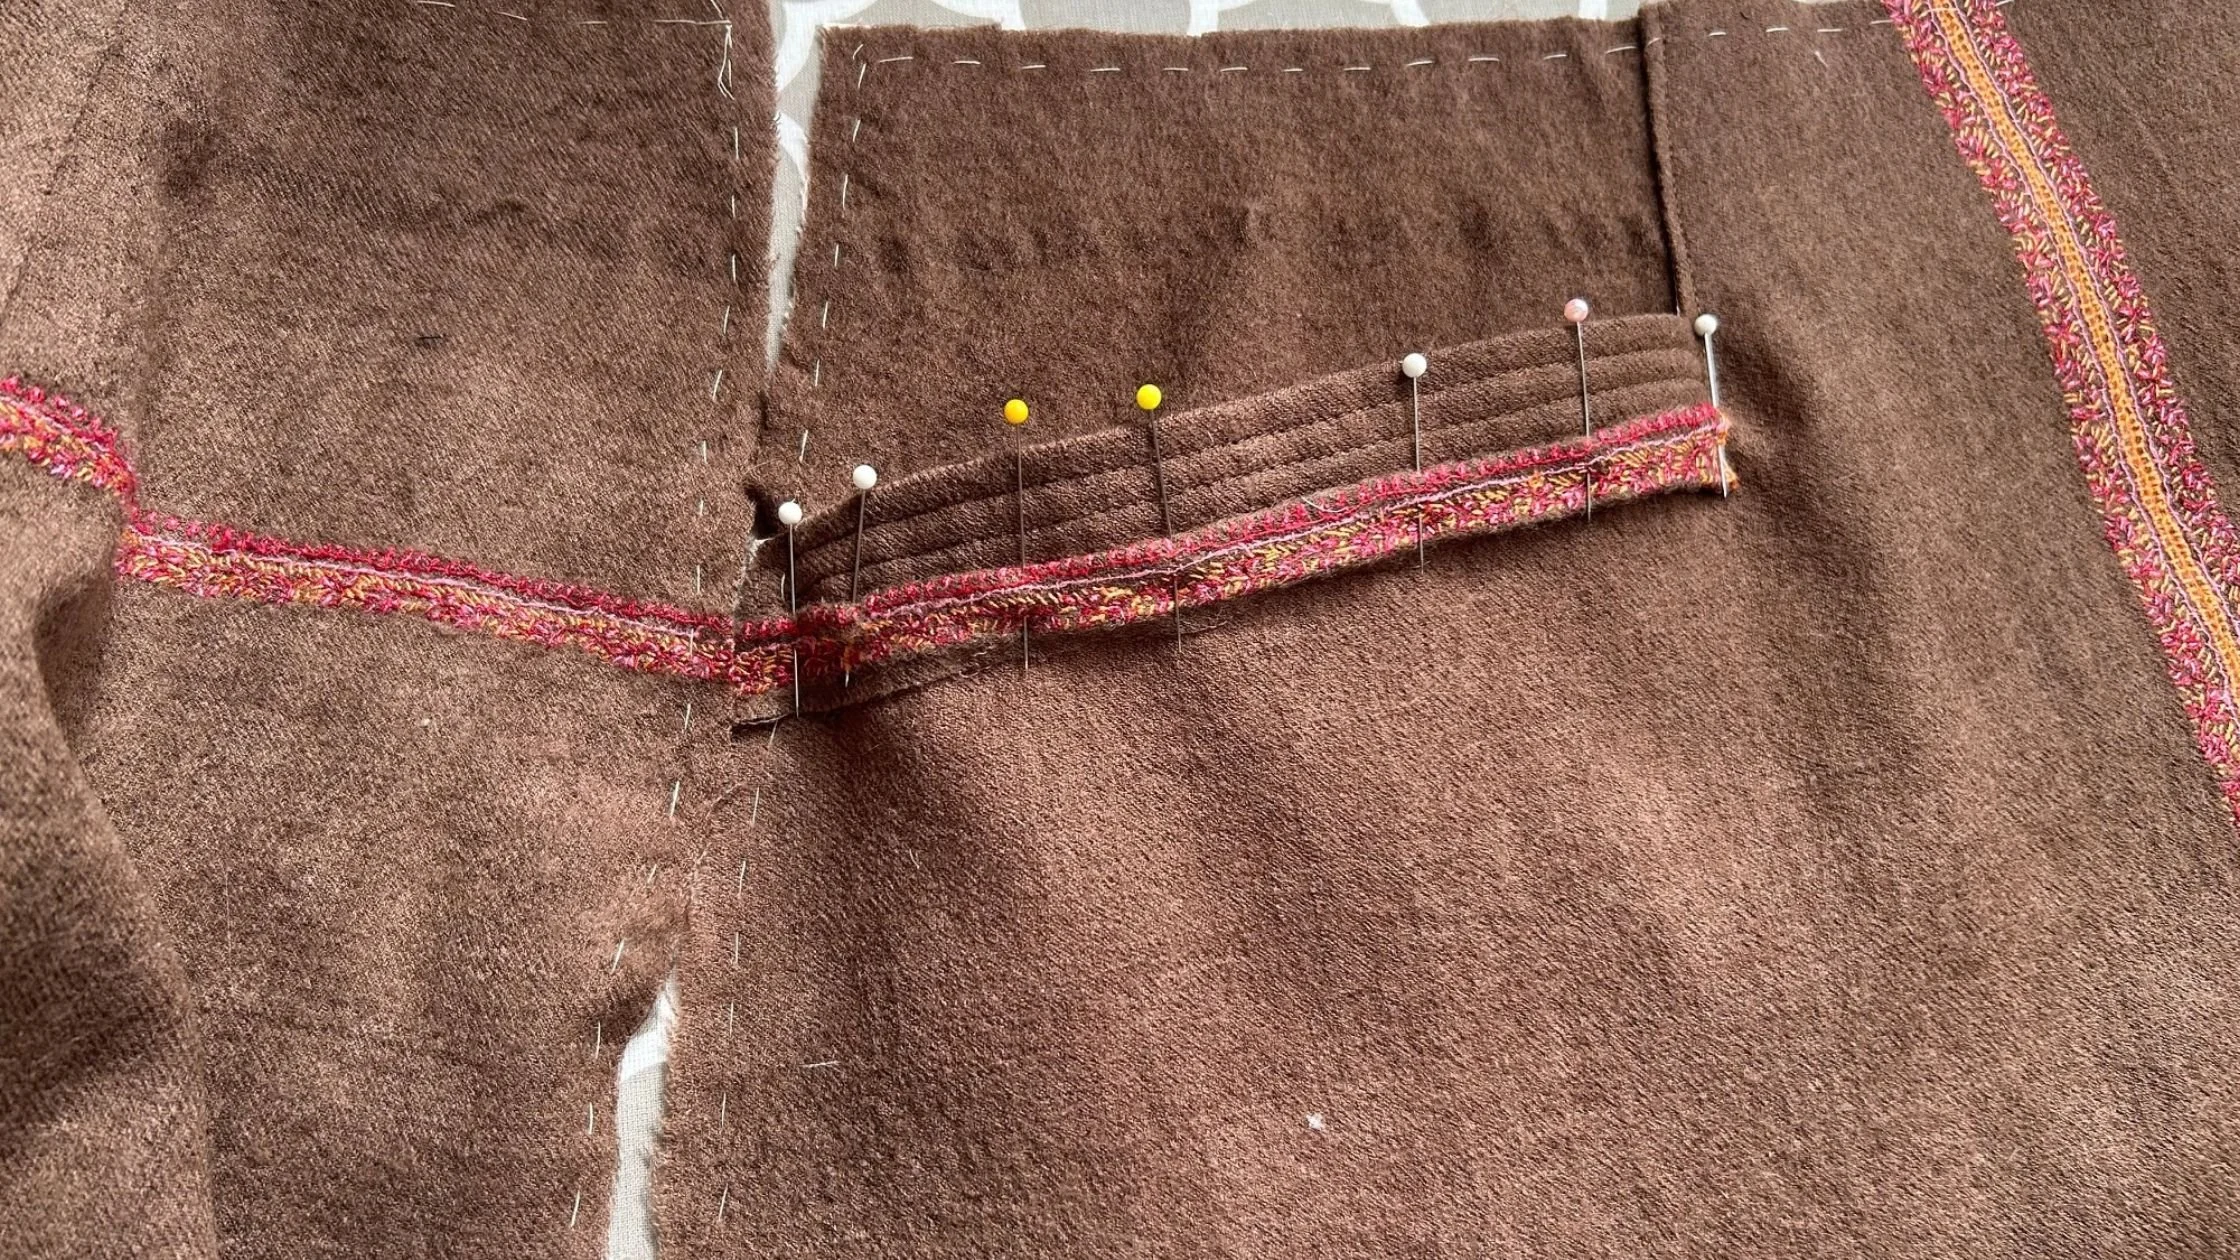
Applique and Pattern Matching
After constructing the pockets, the extra trim was appliqued onto the pocket so that it matched up with the embroidery on the back of the skirt. It was hand stitched in place after the placement was confirmed.
Although the remaining embroidered fabric did not quite match the embroidery on the front, it was the same size. It was cut away from the wool, leaving some fabric that could be turned back for applique on the bottom edge of the back skirt. I think it worked out well.
Finishing
The skirt was finished with lining and a waistband and hemmed by hand. Hanging loops were added to the waist before the waistband was finished and thread chains connect the lining to the skirt at the side seams.
I think this is my new favorite. And my new favorite sweater too. I used the following materials to create this look:
Vintage Butterick 7080 1950’s skirt pattern
Sailor Breton Pattern by Fabel Knitwear
Madeline Tosh Hand Dyed Wool from Jimmy Beans Wool
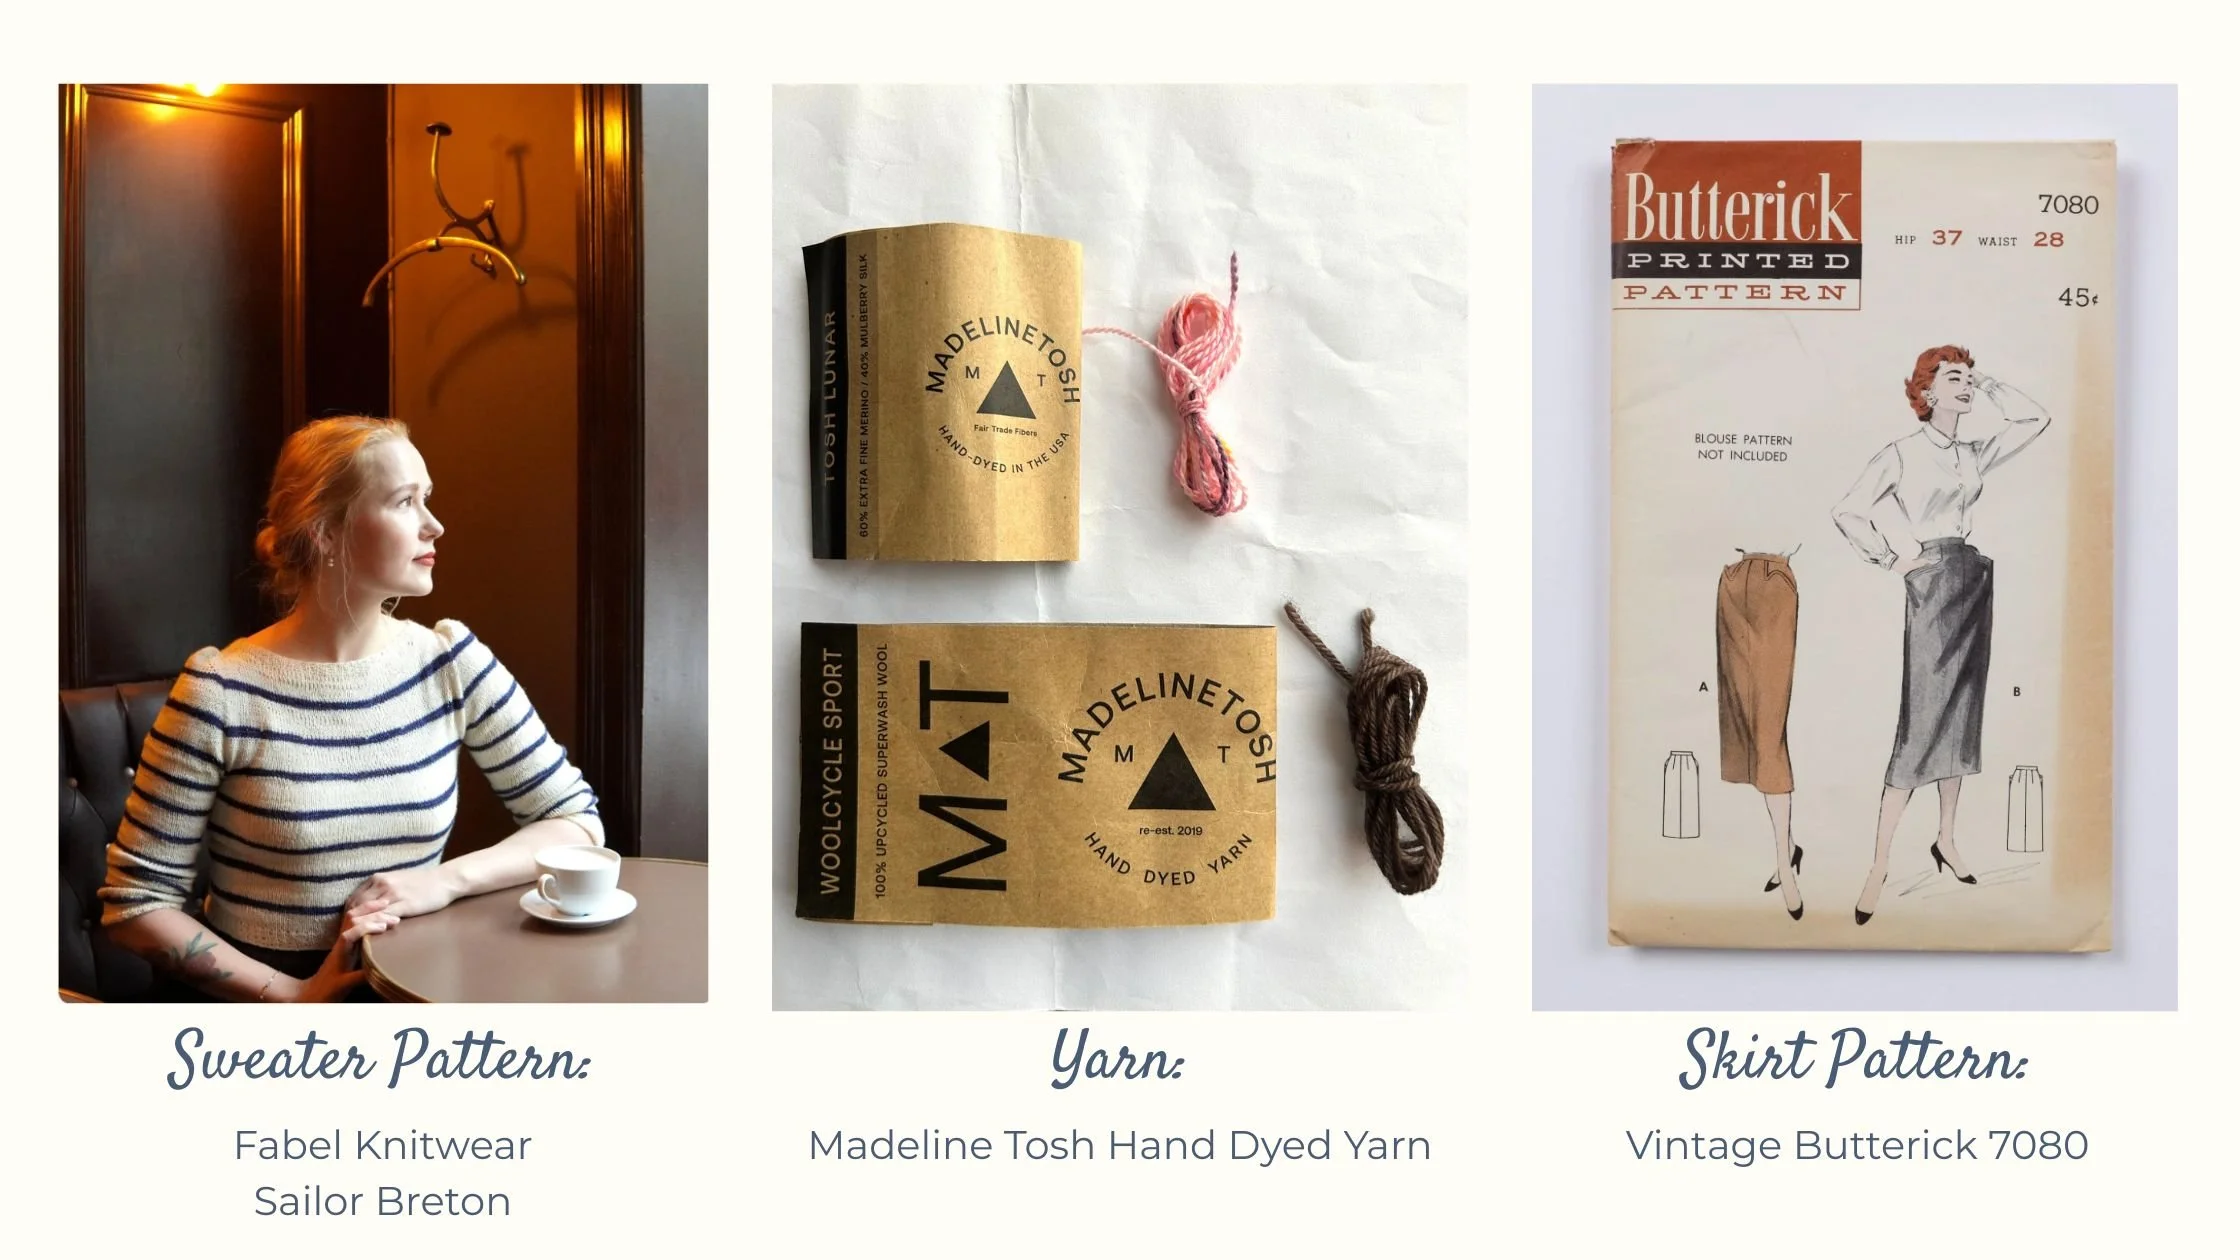
This is one of my favorite recent projects. I can’t wait to actually wear them in real life.
If you are interested in learning how to do your own upcycle sewing projects, we have an Up-Cycle Studio Class coming up later this month on two Sundays with Julie Ann. She has over 25 years experience as a fashion designer which is a total bonus when it comes to pattern placement and design ideas.
Until next time, happy sewing!
xo Jennifer